iPhone – How To Scan Documents On An iPhone Or iPad
An iPhone or iPad can easily scan multi-page documents for future reference, to transfer or share as a PDF, or simply to clear paper clutter.
Apple offers more than one way to easily scan a document using an iPhone or iPad, making it a useful way to eliminate paper clutter, while still keeping copies of receipts or other important notes. Once captured, digital documents can easily be shared with others or just stored for future use and reference.
iOS and iPadOS include several built-in apps that make these devices immediately useful, just like Android smartphones and tablets. Beyond the expected camera, photo gallery, phone and contact apps, Apple includes several content consumption and communication apps, such as the Safari browser for web content, newsreader and podcast apps, options for local weather and directions, an email and messaging app, along with FaceTime for video messaging. For organization, Apple includes its calendar, reminders, notes and files apps. Of course, there are many others, including some for accessing Apple’s digital content for books, music and videos, but these are among the most useful.
Both the Notes and Files apps can be used to scan documents, each with a different interface and options. The Notes app is best for multiple page scans, since it has an automatic feature, but the scans are saved within the app, so it is not as easy to share. The Files app is handy for scanning single pages and since the scan is saved as a file, it can be annotated or marked up, transferred to a computer, sent in an email or shared in other ways, making it a bit more versatile.
How To Scan With Notes & Files

With the Notes app, scanning is as easy as tapping the camera icon that appears at the bottom of the screen, tapping Scan Documents and then pointing the rear camera at the document. The app defaults to automatic capture, so as soon as the corners of the paper are identified, the capture is completed. It’s remarkably fast. Alignment, perspective, brightness and contrast are corrected with no user interaction required. If there is more than one page or document to scan, simply placing it in view will initiate another capture. At any time, tapping the save button will save the scans to the current note. After saving, tapping a scanned document allows adjustment of the cropping, rotation and various options for black and white or color. For quickly saving information for personal reference, this is the most convenient.
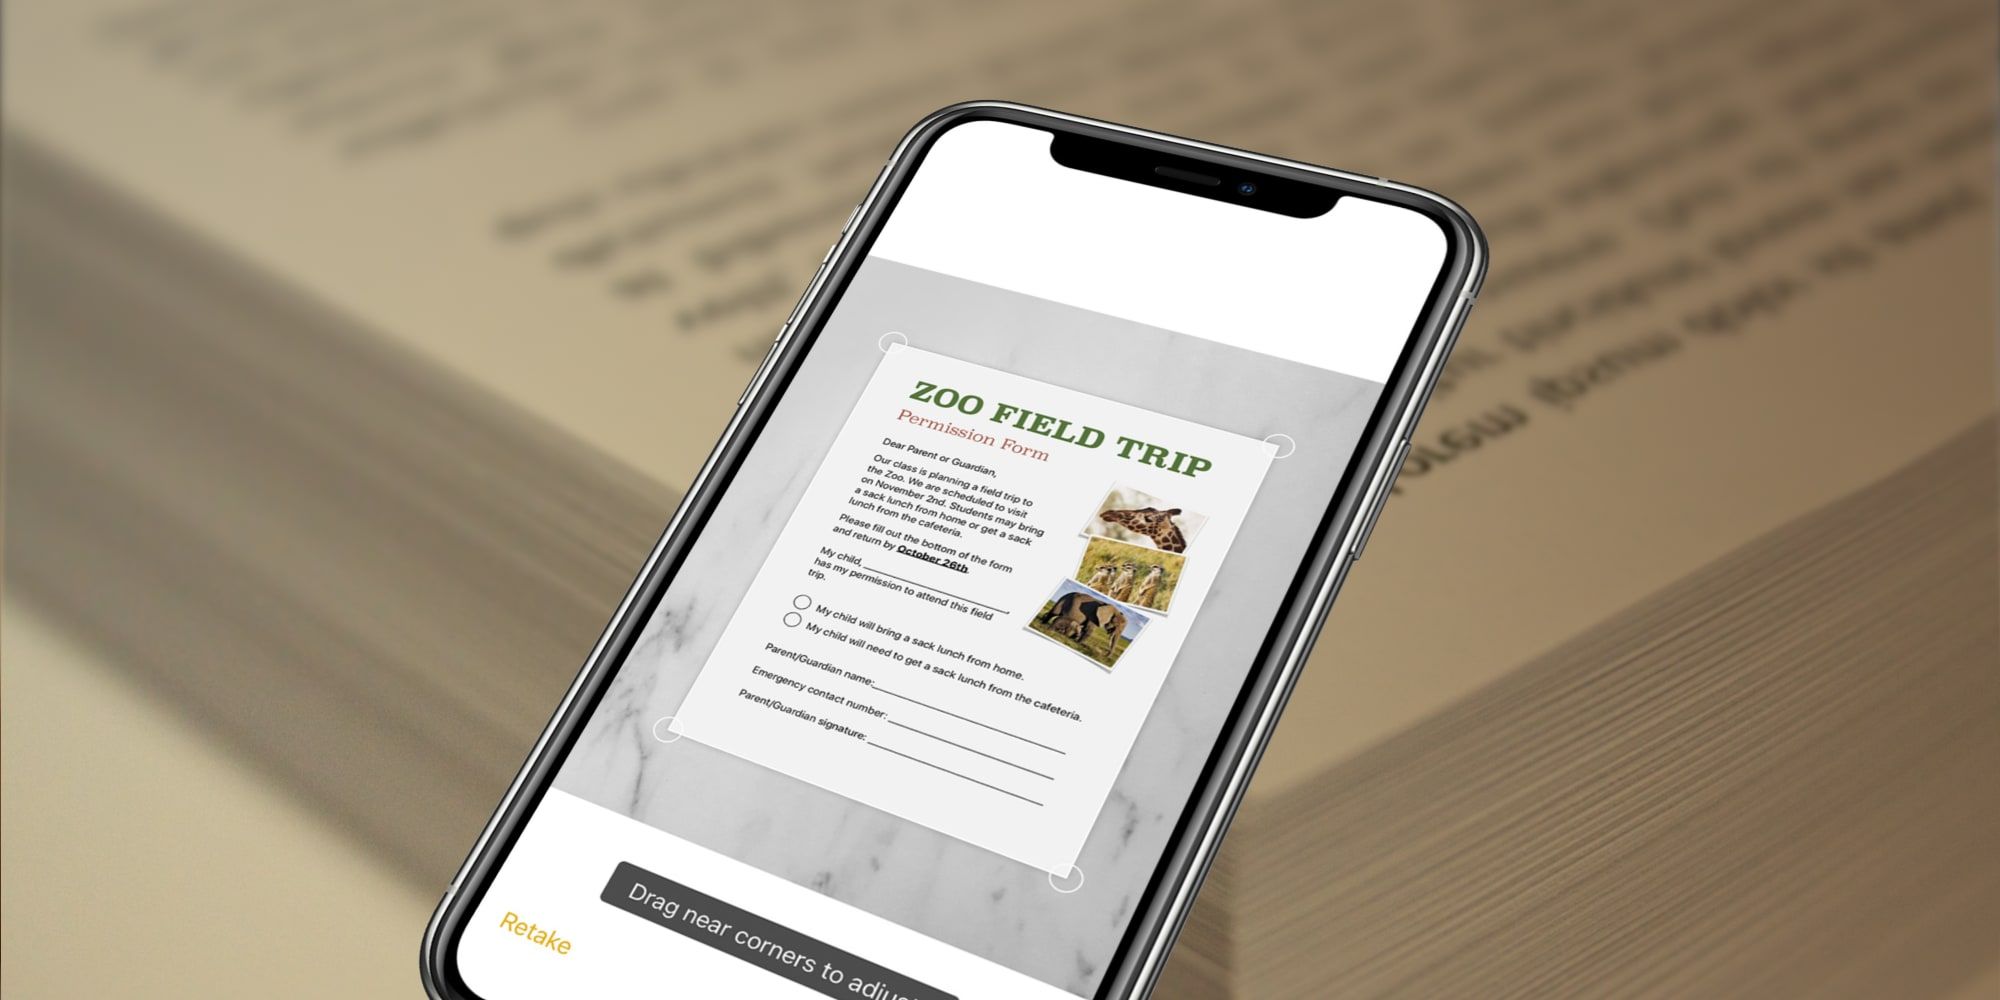
When the goal is to transfer the scanned document from an iPhone or iPad to another device, or share the scan with others, the Files app is the better choice, since the end result is a PDF file. To start a scan with Files, the user can tap the More menu icon, which looks like an ellipsis, or three periods in a row, in the upper-right corner. Then tapping Scan Documents will begin the process. Automatic scanning is also enabled for the Files app by default, but it presents the crop controls rather than immediately looking for another document to scan. This allows fine-tuning the crop handles or retaking if the first scan isn’t good enough. After cropping is finished, the Files app offers the same options as the Notes app to rotate and change color settings before saving it as a PDF. With Notes and Files, Apple offers two easy document scanning methods for iPhone and iPad users.
Source: Apple Notes, Apple Files

About The Author
iPhone – How To Scan Documents On An iPhone Or iPad
Tags: iPhone